From Geotagged Photos to a Public Web Map in One NextGIS Toolbox Run
A folder of geotagged photos is already a spatial dataset. Each image may contain coordinates showing exactly where it was taken, but turning those coordinates into a useful online map usually requires several separate operations: extracting EXIF metadata, creating a point layer, associating every photo with the correct feature, uploading the result to a Web GIS, configuring a map, and publishing it.
Modern smartphones and many cameras can record geographic coordinates when location services are enabled. Before processing the images, check that the photos actually contain coordinates. Also review their locations carefully: publishing a photo map may reveal precise places where the images were taken.
The archive must contain only photos. Do not place them inside subfolders and do not add text files, system files, or other unrelated content.
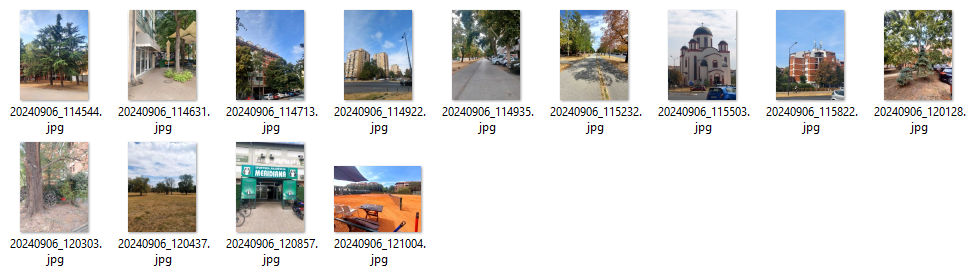
For our example, we placed all selected Novi Sad photos into one folder and compressed them into an archive named:
No GIS layer, spreadsheet, or manual coordinate table was necessary.
Step 1. Prepare the photo archive
Start by selecting the photos you want to publish.
It is worth reviewing the collection before uploading it:
Remove duplicates and unsuccessful images
Exclude private or sensitive locations
Use clear filenames where possible
The filenames do not determine the location, the coordinates are read from EXIF metadata, but meaningful names make the original collection easier to manage.
Next, add the photos directly to a ZIP archive. The expected structure is simple:
The tool expects the photos at the top level of the archive.
Step 2. Choose where the layer will be created
Open your NextGIS Web instance and navigate to the resource group where you want to store the photo layer.
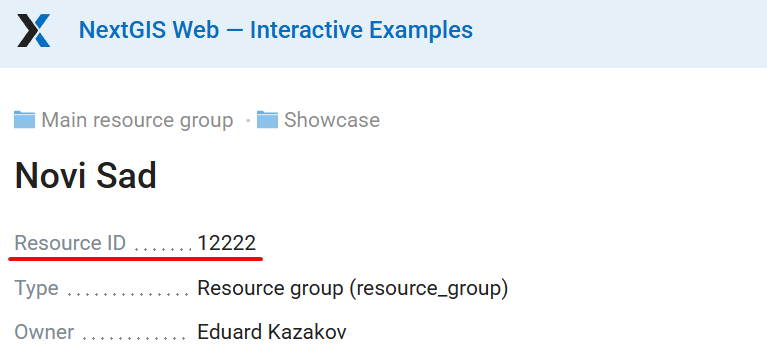
Every NextGIS Web resource has a numeric ID at the end of its URL. For example: https://demo.nextgis.com/resource/12222
In this example, the resource group ID is 12222.
You will enter this number into the Group ID field in NextGIS Toolbox. Using 0 creates the new layer in the main resource group.
For a real project, it is convenient to create a dedicated resource group first, for example, Novi Sad, and store the layer, style, and Web Map together or in a clearly organized resource structure.
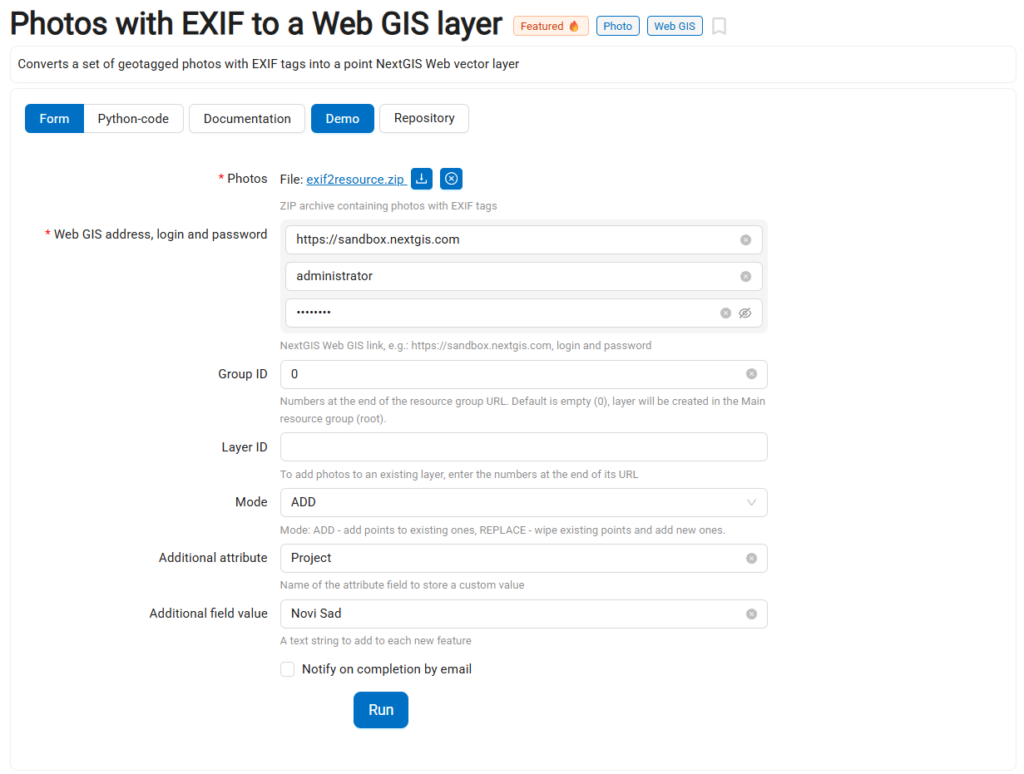
Enter the base address of your NextGIS Web instance, for example:
https://sandbox.nextgis.com
Do not enter the URL of an individual resource or Web Map.
Login and password
Enter the credentials of a NextGIS Web user who has permission to create resources and write data in the selected resource group.
The login can be a NextGIS ID or a local account created in the Web GIS.
To try with sandbox.nextgis.com, use administrator / demodemo
Group ID
Enter the numeric ID of the resource group where the new layer should be created.
For the main resource group, use:
0
Layer ID
Leave this field empty when creating a new photo layer.
It becomes useful later when you want to add another batch of photos to an existing layer.
Mode
When updating an existing layer, the tool supports two modes:
ADD keeps existing features and adds new photo points
REPLACE deletes the existing features and replaces them with the newly uploaded set
Use ADD when extending a photo map over time. Use REPLACE only when the uploaded archive should become the complete new contents of the layer.
Additional attribute
The tool can create an extra attribute and assign the same value to every new feature.
For example:
Attribute: Project
Value: Novi Sad
Other useful possibilities include:
Photographer
Survey name
Project
Inspection round
Organization
Photo category
This is especially helpful when several batches or contributors are added to one layer.
After completing the form, click Run.
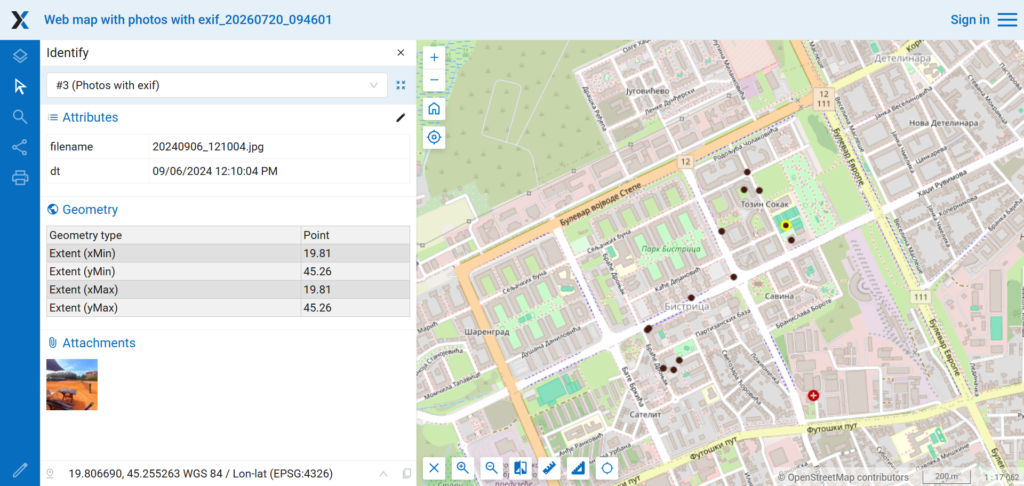
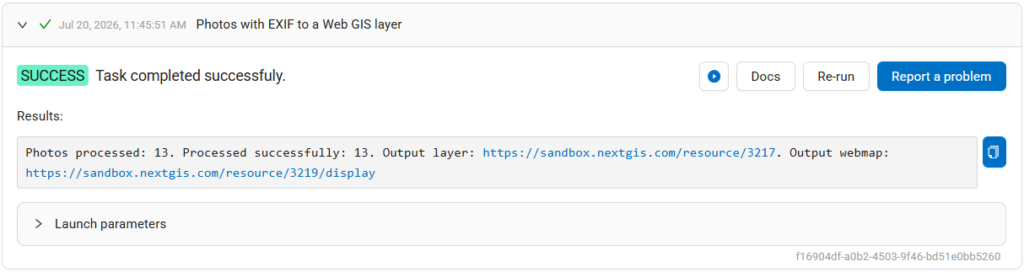
NextGIS Toolbox processes the archive and displays a result summary. For the Novi Sad sample, all 13 uploaded photos were processed successfully.
The result contains two direct links:
Output layer — the generated point vector layer with photo attachments
Output Web Map — an automatically created interactive map containing the photo layer
Step 4. Open and review the generated Web Map
Click the Output Web Map link in the Toolbox results.
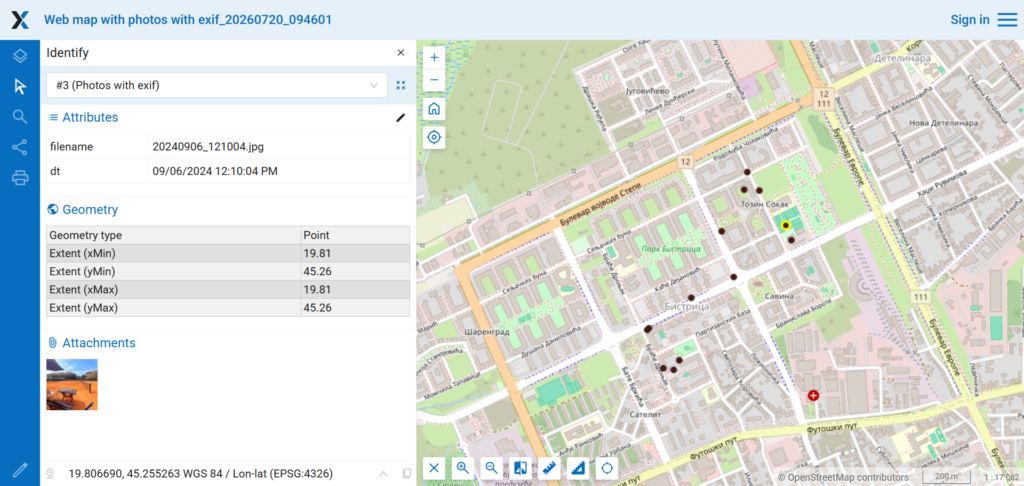
The map is already configured with the generated point layer. Each point corresponds to one successfully processed photo and is positioned using the coordinates stored in the image’s EXIF metadata.
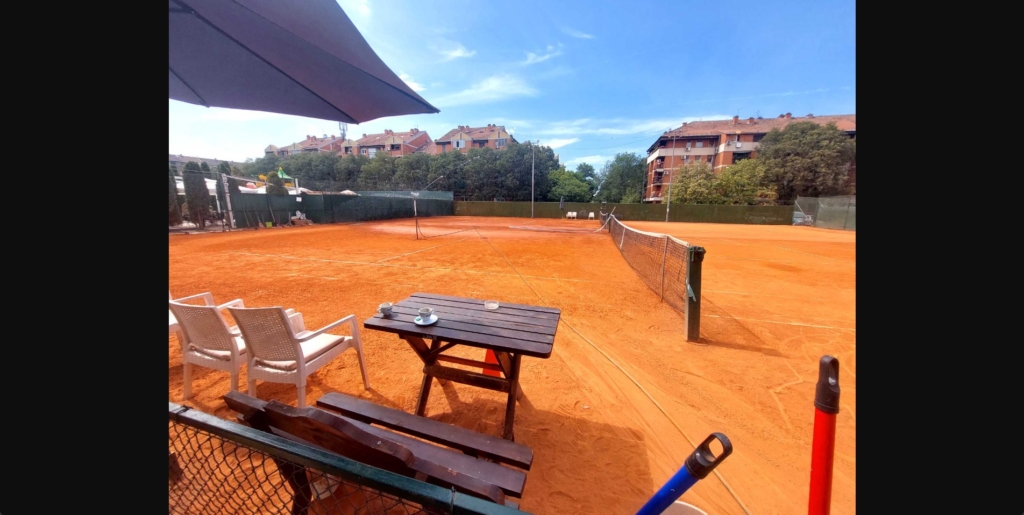
Click a point to open its feature information and view the attached photograph.
You can now manage this map, configure permissions, add other data sources, embed it in external applications, and use any other functionality available in NextGIS Web.
Where this workflow is useful
The Novi Sad collection is a simple demonstration, but the same process can support many practical tasks:
Documenting buildings, monuments, and public spaces
Publishing a visual travel diary
Recording road or infrastructure conditions
Mapping environmental observations
Preparing field inspection reports
Documenting construction progress
Creating inventories of signs, equipment, or street furniture
Mapping tourism routes and points of interest
Comparing a place at different dates
Collecting photographs from multiple team members
The main advantage is that the original photos are not separated from the spatial dataset. Every image remains connected to a map feature and can be viewed directly from the interactive map.
From a photo folder to a spatial resource
A folder of smartphone photos may look like unstructured media, but its EXIF metadata already contains the foundation of a GIS dataset.
NextGIS Toolbox handles the repetitive conversion work: it reads the coordinates, creates the point features, uploads the images, and associates every attachment with the correct feature. NextGIS Web then provides the tools needed to style, organize, publish, update, and share the result.
No desktop GIS project, manually prepared coordinate table, or custom script are required, just the original photos and access to a NextGIS Web instance.